
Adding a UI: Open WebUI wired to your Ollama stack
Contents
This is part 4 of the Ollama infra series. The previous posts gave us Ollama behind nginx (part 2) and an async queue layer (part 3). Here we add a polished chat UI that talks directly to Ollama for interactive use, while the queue layer continues to serve programmatic callers.
Why Open WebUI
Open WebUI is the most complete self-hosted chat interface for Ollama. It supports multiple models, conversation history stored in a local database, user accounts, system prompt customization, document uploads with RAG, and a plugin system. It runs as a single Docker container and points at your Ollama instance.
The alternative commonly used is Chatbot UI, which is lighter but has fewer features and is less actively maintained. Open WebUI is the right default choice for a production-quality self-hosted setup.
Architecture with Open WebUI
Browser
  │
  ▼
nginx (443)
  ├─▶ /         ──▶ Open WebUI (8080)
  │                    │
  │                    └─▶ Ollama (11434)  [direct, on same host]
  │
  ├─▶ /queue/  ──▶ Job API (3000)  from part 3
  │
  └─▶ /direct/ ──▶ Ollama (11434)  direct API access from part 2
Open WebUI and Ollama communicate on the same host network. The queue-based Job API from part 3 continues to serve programmatic callers at a separate path. nginx routes between them.
Running Open WebUI with Docker
If you do not have Docker installed:
curl -fsSL https://get.docker.com | sh
Run Open WebUI:
docker run -d \
  --name open-webui \
  --network host \
  --restart always \
  -v open-webui-data:/app/backend/data \
  -e OLLAMA_BASE_URL=http://127.0.0.1:11434 \
  -e WEBUI_SECRET_KEY=change-this-to-a-random-string \
  -e WEBUI_AUTH=true \
  -e CORS_ALLOW_ORIGIN=https://inference.yourdomain.com \
  -e USER_AGENT=open-webui \
  ghcr.io/open-webui/open-webui:main
Key flags:
| Flag | Purpose |
|---|---|
--network host |
Container shares the host network — can reach Ollama on 127.0.0.1 and listens on port 8080 of the host directly |
-v open-webui-data:/app/backend/data |
Persist user accounts and conversation history across restarts |
OLLAMA_BASE_URL |
Where Open WebUI finds Ollama |
WEBUI_SECRET_KEY |
Signs session tokens — must be a long random string |
WEBUI_AUTH=true |
Require login (always enable this for internet-facing deployments) |
Check the container is running:
docker ps | grep open-webui
docker logs open-webui
The PORTS column in docker ps will be empty — that is normal with --network host. There is no port mapping; the container binds directly to the host’s port 8080.
nginx configuration update
Part 2 set up /direct/ for direct API access and /queue/ in part 3. The only thing left is adding location / for the UI:
server {
    listen 443 ssl;
    server_name inference.yourdomain.com;

    # ... TLS config from part 2 ...

    # Open WebUI — new; no secret header (Open WebUI has its own auth)
    location / {
        proxy_pass         http://127.0.0.1:8080;
        proxy_http_version 1.1;
        proxy_set_header   Upgrade $http_upgrade;
        proxy_set_header   Connection "upgrade";
        proxy_set_header   Host $host;
        proxy_read_timeout 300s;
        proxy_buffering    off;
    }

    # ... /direct/ block from part 2 ...
    # ... /queue/ block from part 3 ...

    access_log /var/log/nginx/inference-access.log json_combined;
    error_log  /var/log/nginx/inference-error.log;
}
Reload nginx:
nginx -t && systemctl reload nginx
First-time setup in Open WebUI
Navigate to https://inference.yourdomain.com. The first user to sign up becomes the admin. Create your admin account, then:
-
Settings → Models: You will see the models available in your Ollama instance. Pull additional models from here using the download button.

- Admin → Users: Add additional users or enable open registration.
- Admin → Settings → General: Set the default model and system prompt.
Vision models
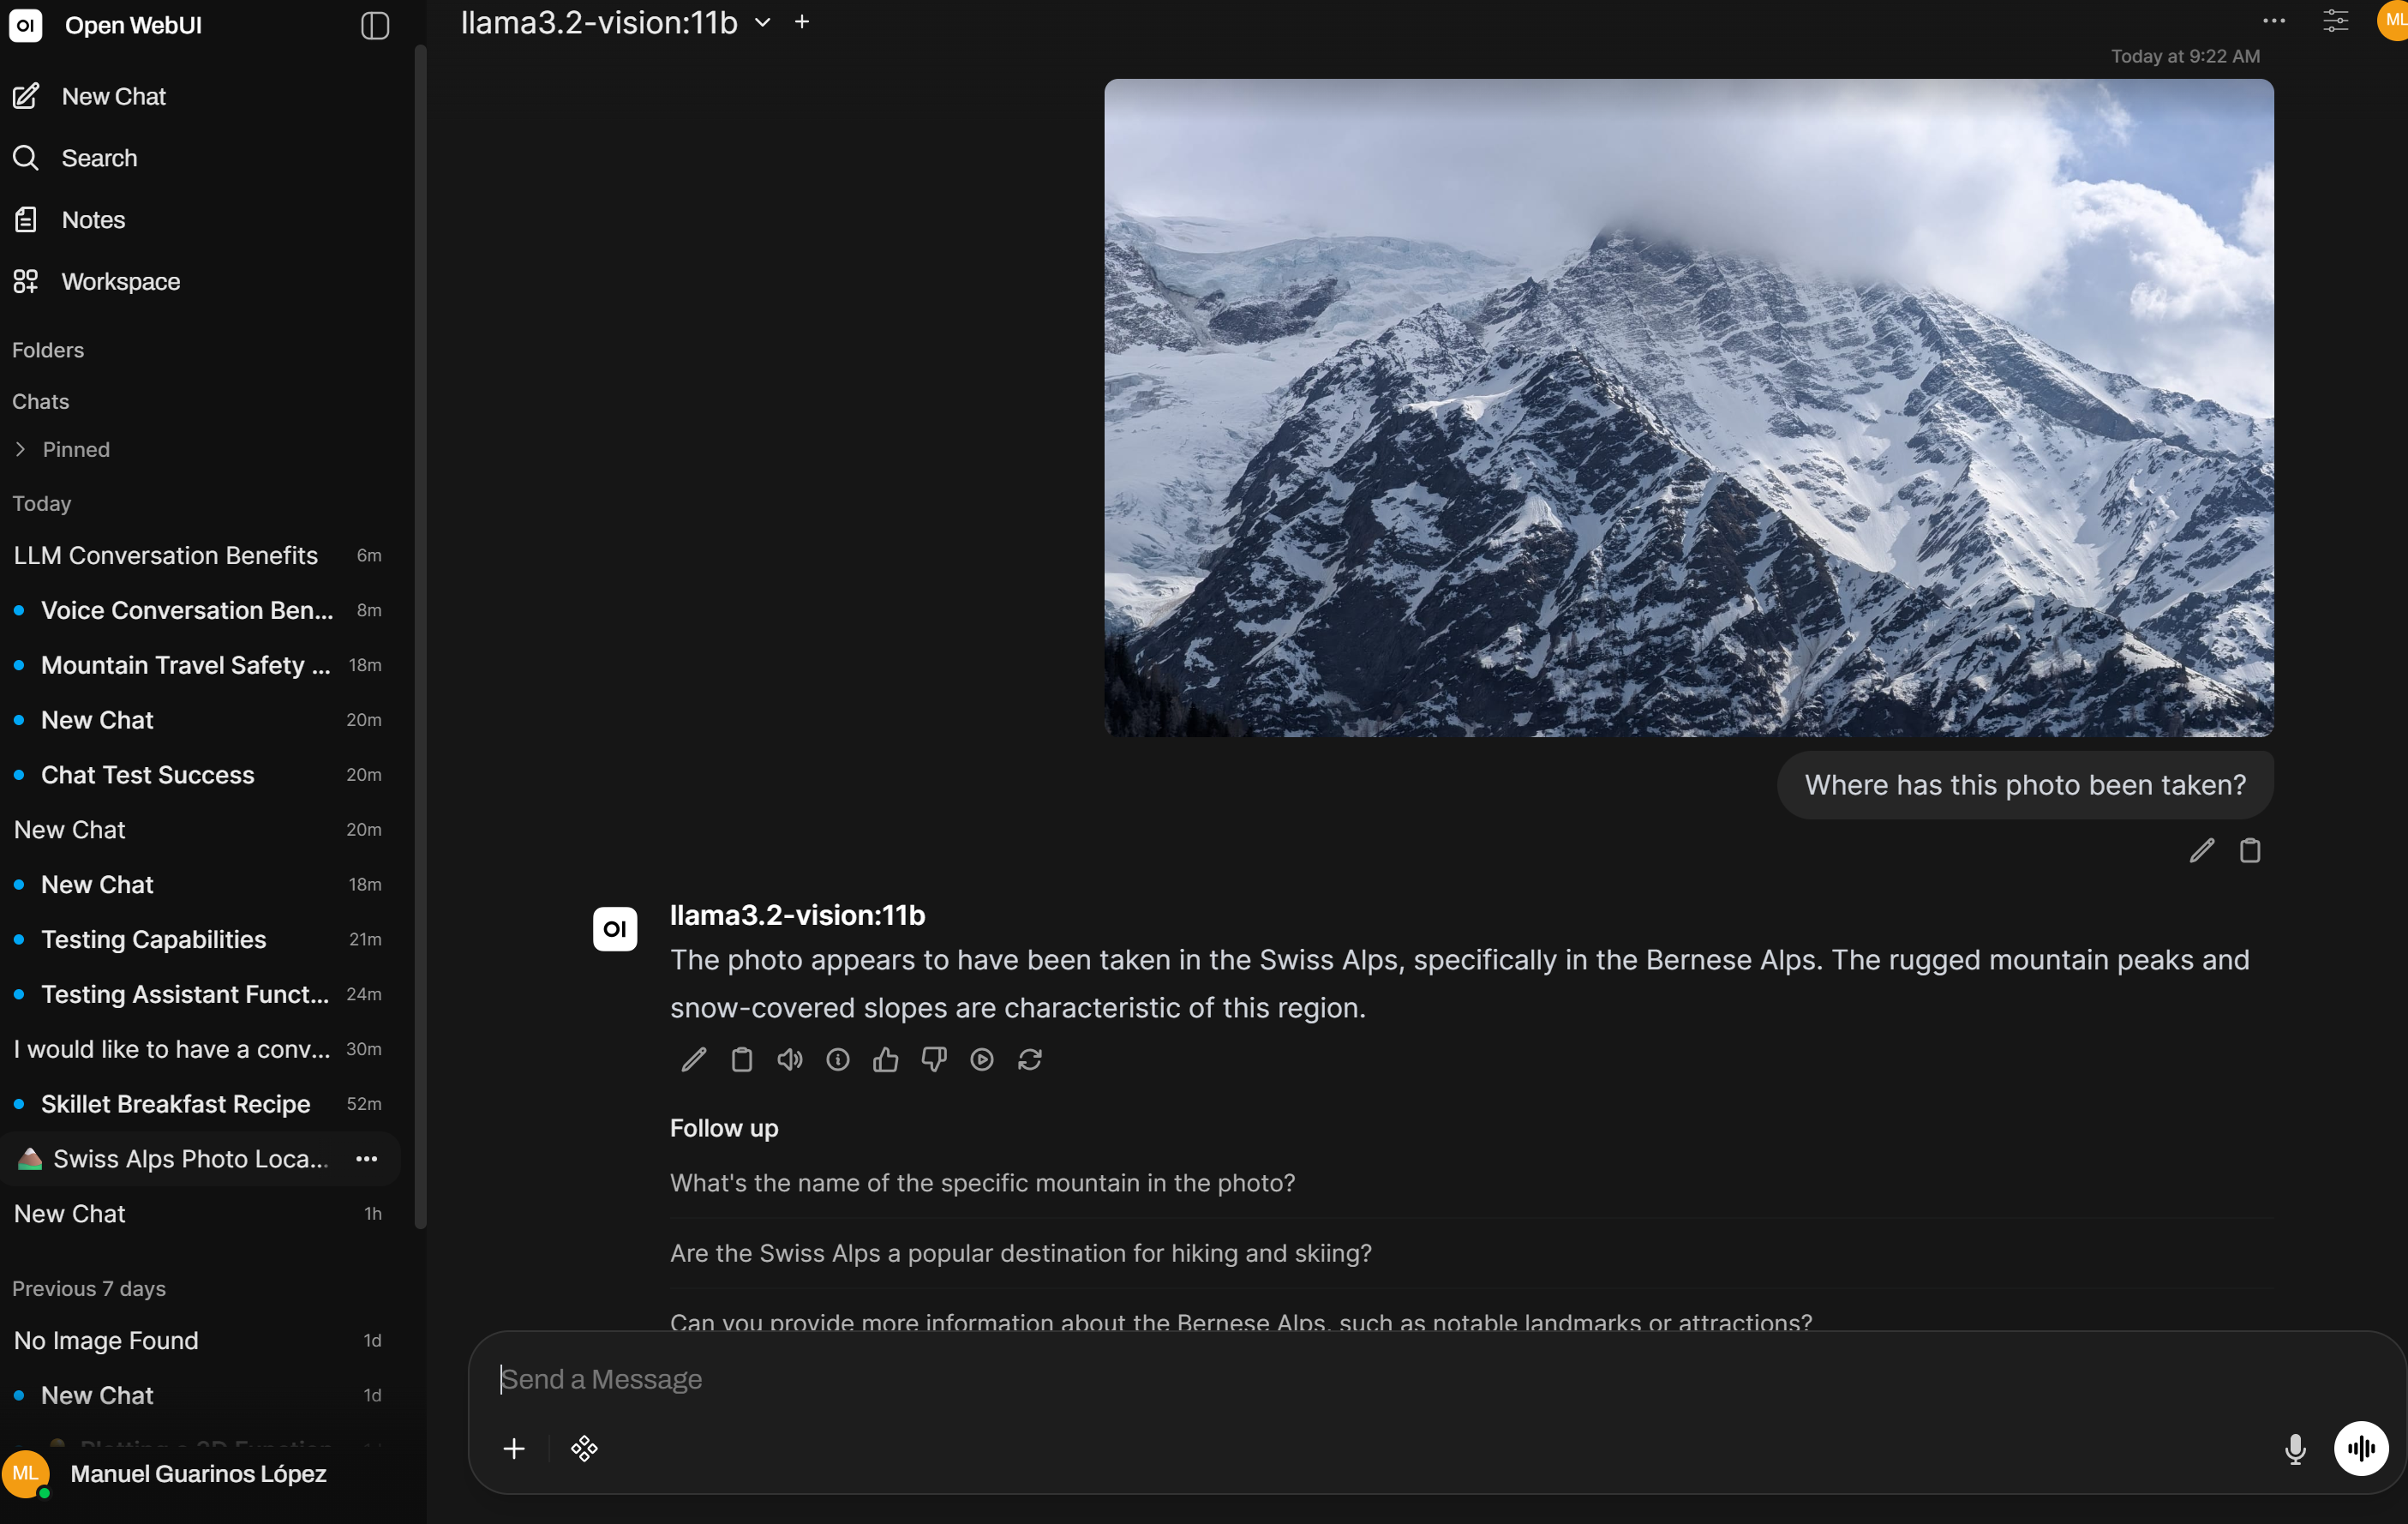
If you have pulled a multimodal model like llama3.2-vision:11b, Open WebUI exposes the image upload button automatically in the chat input. Drop an image into the conversation and the model will describe, analyse, or answer questions about it — no extra configuration needed.
User management
With WEBUI_AUTH=true, every user needs an account. By default, registration is open — anyone who reaches the URL can sign up. Depending on your threat model:
Close registration (invite-only):
In Admin → Settings → Users, disable “New User Signup”. Add users manually from the admin panel.
IP allowlist in nginx (for a fully private deployment):
location / {
    allow 10.0.0.0/8;
    allow 192.168.0.0/16;
    deny all;
    proxy_pass http://127.0.0.1:8080;
    # ...
}
Keeping Open WebUI updated
Open WebUI releases frequently. With Docker this is straightforward:
docker pull ghcr.io/open-webui/open-webui:main
docker stop open-webui
docker rm open-webui
# re-run the original docker run command
The volume open-webui-data persists across container replacements, so user accounts and conversations survive the update.
Automate with a weekly cron or a Watchtower container if you want automatic updates. For production use, pin to a specific version tag instead of main.
Separating interactive and programmatic access
The setup now has two access patterns with different auth models:
| Path | Auth | Who uses it |
|---|---|---|
/ |
Open WebUI login (username + password) | Humans via browser |
/queue/ |
X-Ollama-Key header |
Code, scripts, automations |
/direct/ |
X-Ollama-Key header |
Direct API access |
This separation is intentional. The UI is for humans and carries its own session management. The queue API is for code and uses a shared secret. Neither leaks the other’s credentials.
What you have now
- Open WebUI running as a Docker container with persistent storage
- nginx routing browser traffic to the UI and API traffic to the queue
- User authentication and admin controls for the chat interface
- A clean separation between interactive and programmatic access