
Git worktrees and AI coding agents: run parallel tasks without the context switching
Contents
AI coding agents like Claude Code or OpenCode are most useful when you can hand them a task and let them run while you keep working. The problem is that a single git checkout is a shared resource. If an agent is halfway through a refactor on a branch, your working tree is full of changes you didn’t make. Switching branches mid-task means stashing, interrupting the agent, or just not switching at all.
Git worktrees solve this without any special tooling. Each worktree is a fully independent checkout of the same repository, sharing the same object store and refs. You can have five worktrees open, each on a different branch, each with a different agent running inside it — and none of them interfere with the others.
What a worktree actually is
When you git clone, you get one .git directory and one working tree. The working tree is just the files on disk; the .git directory is the actual repository. Worktrees decouple these: one .git directory can serve multiple working trees simultaneously.
my-project/                  ← main worktree (your usual checkout)
  .git/
  src/
  ...

my-project-feat-auth/        ← linked worktree, branch: feat/auth
  src/
  ...

my-project-fix-payments/     ← linked worktree, branch: fix/payments
  src/
  ...
The linked worktrees don’t have a .git directory — they have a .git file that points back to the main repository. All three directories share the same commit history, the same remote config, the same stash. The only thing isolated is the working tree state and the current branch.
One constraint worth knowing upfront: the same branch cannot be checked out in two worktrees at the same time. If feat/auth is open in a linked worktree, trying to git checkout feat/auth in the main worktree will fail. This is by design — the same branch in two places would create an impossible state.
Creating a worktree
The basic command is:
git worktree add <path> <branch>
Create one for a new feature:
git worktree add ../my-project-feat-auth feat/auth
If the branch doesn’t exist yet, create it from main in the same step:
git worktree add -b feat/auth ../my-project-feat-auth main
That’s it. The directory ../my-project-feat-auth now exists with feat/auth checked out. You can cd into it, open it in an editor, or point an AI agent at it.
To see all your worktrees:
git worktree list
/home/user/my-project            abc1234  [main]
/home/user/my-project-feat-auth  def5678  [feat/auth]
To remove a worktree when you’re done:
git worktree remove ../my-project-feat-auth
This removes the directory and cleans up the internal ref. If the worktree has uncommitted changes, git will refuse — add --force if you’re sure.
The full command reference is in the official git worktree documentation.
The AI agent workflow
The pattern is straightforward:
- Create a worktree for the task on its own branch.
- Start an AI agent session pointed at that directory.
- Keep working in your main checkout while the agent runs.
- Review the diff, run tests, and merge when you’re satisfied.
- Remove the worktree.

git worktree remove --force — no stash to undo, no branch to reset, your main checkout is untouched.With Claude Code:
# Create the worktree
git worktree add -b fix/payments-rounding ../my-project-fix-payments main

# Start Claude Code in the worktree
cd ../my-project-fix-payments
claude
With OpenCode:
git worktree add -b fix/payments-rounding ../my-project-fix-payments main
cd ../my-project-fix-payments
opencode
The agent sees an isolated working directory. It can make commits, create files, run tests — none of which touch your main checkout. When it’s done you review the branch like any other PR.
Claude Code’s built-in worktree flag
If you use Claude Code, you don’t have to run git worktree add manually first. The --worktree flag (or -w) creates the worktree and starts a session inside it in one step:
claude --worktree feat/auth
This creates a worktree at .claude/worktrees/feat/auth/ on a new branch named worktree-feat/auth, then drops you straight into a Claude Code session in that directory. Omit the name and Claude generates one:
claude --worktree
# starts in something like .claude/worktrees/bright-running-fox/
When you exit the session, Claude cleans up automatically: if you made no changes, the worktree and branch are removed. If there are commits or uncommitted changes, it prompts you to keep or discard them.
One practical detail: add .claude/worktrees/ to your .gitignore so the worktree contents don’t appear as untracked files in your main checkout:
echo ".claude/worktrees/" >> .gitignore
Another useful feature is .worktreeinclude — a file you add to your project root that tells Claude which gitignored files to copy into each new worktree. Useful for .env files that every worktree needs but should never be committed:
# .worktreeinclude
.env
.env.local
config/secrets.json
See the Claude Code worktrees documentation for the full reference, including subagent isolation and non-git VCS support.
Running multiple agents in parallel
This is where worktrees pay off most clearly. Suppose you have three tasks to hand off:
git worktree add -b feat/auth ../project-auth main
git worktree add -b feat/notifications ../project-notifs main
git worktree add -b fix/memory-leak ../project-fix main
Open three terminal tabs. In each one, start a Claude Code or OpenCode session:
# Tab 1
cd ../project-auth && claude

# Tab 2
cd ../project-notifs && claude

# Tab 3
cd ../project-fix && claude
Each agent operates on its own branch, in its own directory. You can switch between tabs to check progress, add clarifications, or redirect the agent — without any of the sessions interfering with each other.
If you use tmux or a terminal multiplexer, this becomes a natural workflow: one pane per agent, one worktree per branch.
VS Code and IDE integration
VS Code handles worktrees well — File > Open Folder on a linked worktree directory opens it as a standalone workspace. Extensions like GitLens show the branch name correctly because they read the .git file pointer and follow it back to the main repository.
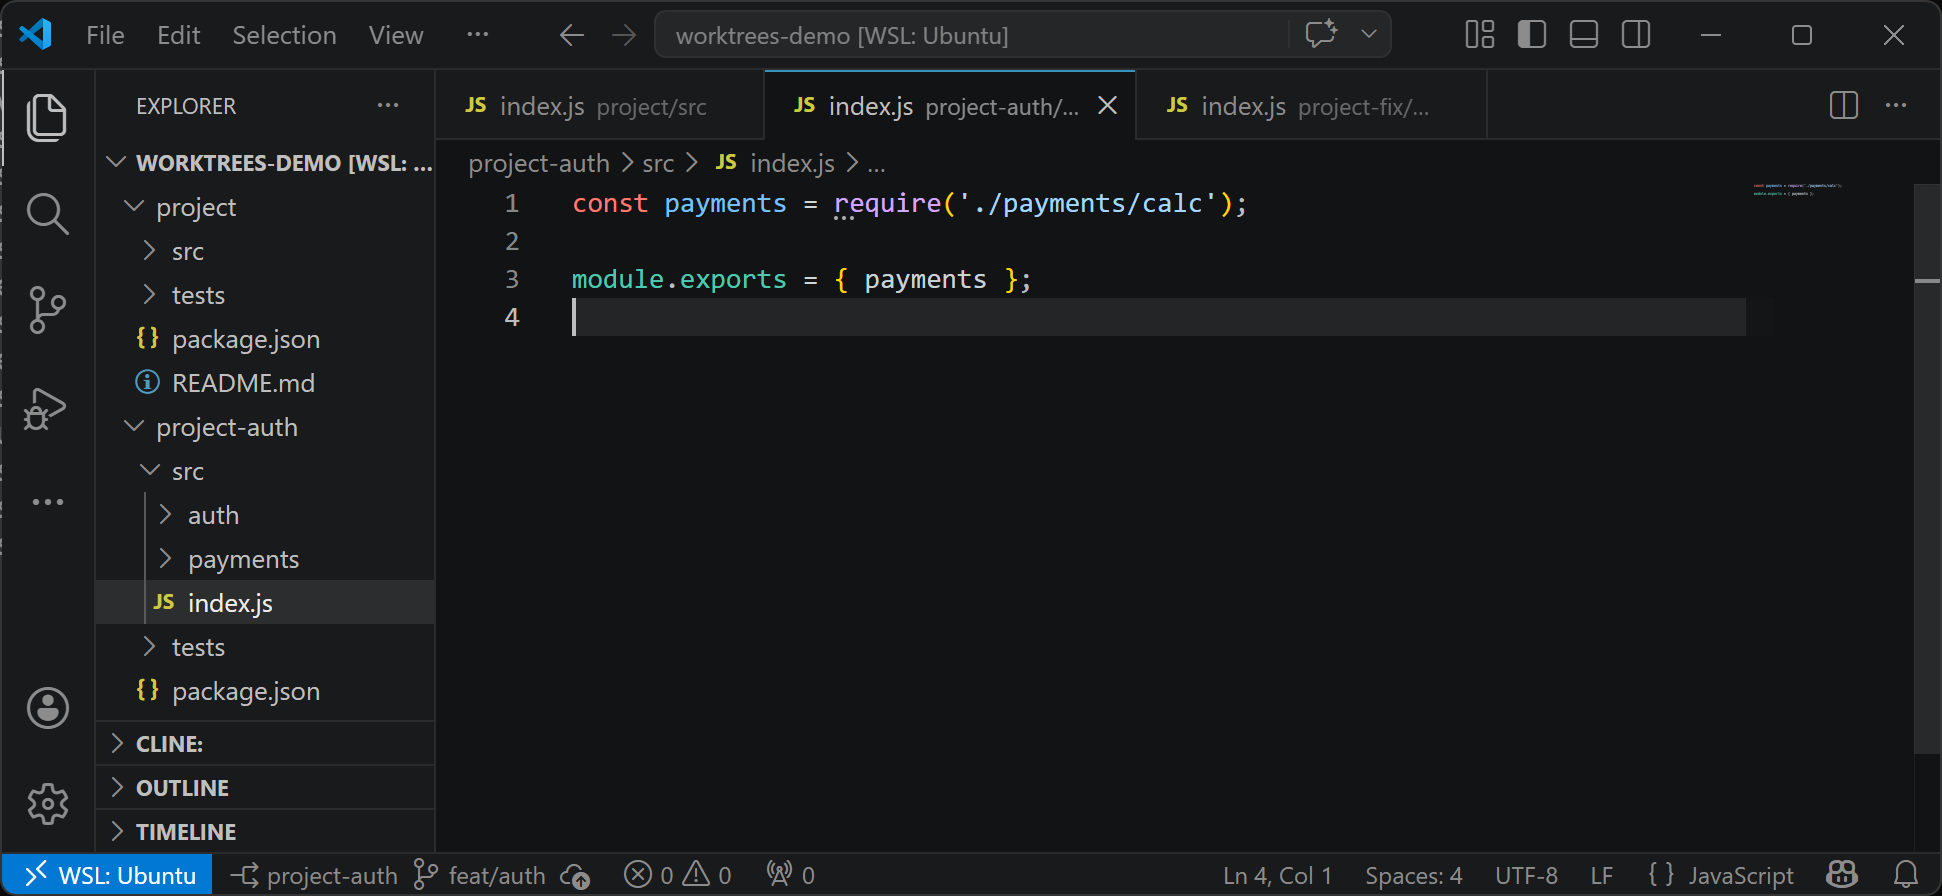
project-auth on feat/auth — VS Code reads the .git pointer file and picks up the branch automatically.One thing that trips people up: the integrated terminal in each VS Code window runs inside that worktree’s directory. If you start an agent inside VS Code’s terminal, it’s already scoped to the right worktree. You don’t need to do anything special.
Handling shared state
Worktrees isolate the working tree, but several things are still shared:
Uncommitted stash. All worktrees share the same stash. git stash list shows the same entries everywhere. This is usually fine — just be aware that a stash entry created in one worktree can be applied in another.
The index (staging area). Each worktree has its own index. Staging a file in one worktree does not affect another.
Installed dependencies. If your project uses node_modules, each worktree gets its own copy only if you run npm install inside it. Node and Python projects often need this. Languages that compile (Go, Rust) don’t share build artifacts by default, but build times apply per worktree.
Running processes. If your dev server listens on port 3000, each worktree running a dev server needs a different port. Configure this per-worktree or use environment variables.
The typical fix for both of these is a short setup script:
#!/bin/bash
# setup-worktree.sh — run after creating a worktree
npm install
PORT=3001 npm run dev
Cleanup
Worktrees accumulate. A worktree whose branch has been merged and deleted will show as prunable in git worktree list. Clean them up with:
git worktree prune
This removes internal metadata for worktrees whose directories no longer exist. It does not delete directories — remove them manually first or use git worktree remove.
A useful alias to list worktrees with their status:
git worktree list --porcelain
The --porcelain output is stable and parseable if you want to script cleanup.
What this changes about working with AI agents
Without worktrees, running an AI agent on your main checkout means your working directory is occupied. You can’t switch branches without interrupting the session. If the agent makes changes you want to throw away, you’re doing git checkout -- . and hoping you haven’t lost anything important.
With worktrees, the agent has a dedicated directory and branch. Throwing away its work is git worktree remove --force — your main checkout is untouched. Reviewing its work is a normal git diff or PR. Running the same task in parallel on two different approaches is two worktrees and two agent sessions.
The pattern fits naturally with how AI agents work best: give them a clear task, let them run without interruption, review the output. Worktrees remove the one thing that made that awkward — the shared working directory.